Step-by-step guide for adjusting a LiftMaster garage door opener with expert tips to ensure smooth operation.
Even minor misalignments in your LiftMaster garage door opener can gradually lead to major problems. Issues such as inconsistent door movement, increased strain on the motor, or unexpected reversals may result from improper calibration. These problems not only affect convenience but also compromise the long-term efficiency and safety of your system.
That’s why adjusting a LiftMaster garage door opener correctly is essential for optimal performance. With professional service from Grand River Garage Door, homeowners can rest assured their opener operates smoothly and safely. Routine adjustments help extend the lifespan of your equipment, reduce wear and tear, and ensure your garage door functions reliably every day.
When Should You Adjust Your LiftMaster Garage Door Opener?
Recognizing the right time for adjustments is key. If your door doesn’t fully close, hesitates mid-operation, or reverses for no clear reason, it may be time to make changes. Routine adjustments also help with seasonal shifts or aging components. While some homeowners handle these themselves, Grand River Garage Door offers diagnostic services that uncover deeper issues before they become costly problems.
Safety First: Precautions Before Making Adjustments
Flathead Screwdriver
Used for prying, adjusting, or loosening flat-head screws on your garage door opener. This basic tool is essential for accessing panels and making minor adjustments with ease and control.
Step Ladder
A stable step ladder provides safe access to elevated parts of your garage door opener. Always use a sturdy, well-balanced ladder to prevent falls while working at height.
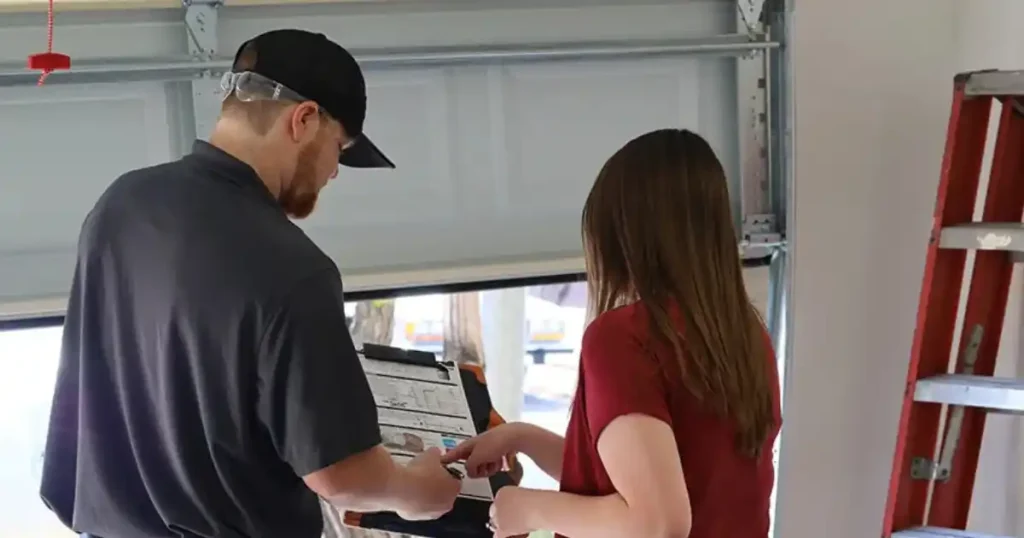
Work Gloves and Safety Glasses
Protect your hands from sharp edges and your eyes from dust or debris. Safety gear ensures you avoid injuries during inspections, repairs, or adjustments around moving components.
LiftMaster Owner’s Manual
Your LiftMaster manual offers model-specific guidance, troubleshooting tips, and diagrams. Always refer to it before repairs, it’s your go-to resource for safe and correct garage door opener maintenance.
Disconnect Power and Alert Family Members
Before making any adjustments, disconnect the garage door opener from power. This step prevents accidental activation while you’re working. Let your family or housemates know not to use the door during this time. Grand River Garage Door always prioritizes safety protocols during any on-site service or repair.
How to Adjust Travel Limits on a LiftMaster Opener
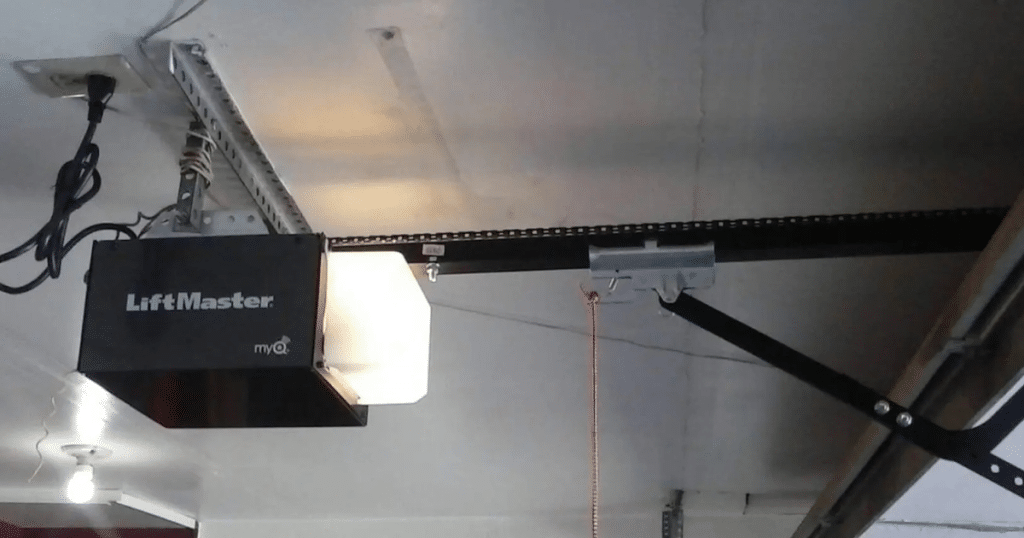
Step 1 – Locate the Adjustment Screws
On most LiftMaster units, you’ll find “Up” and “Down” adjustment screws or dials on the motor housing. These control how far the door travels in either direction.
Step 2 – Test Door Movement
Run the opener and observe where the door stops. If it doesn’t reach the ground or opens too far, it’s time to adjust.
Step 3 – Adjust Open and Close Limits
Turn the screws slightly clockwise or counterclockwise to fine-tune the stopping points. Make small adjustments and test after each turn. For optimal performance, Grand River Garage Door can calibrate these settings during professional service visits.
Adjusting Force Settings on a LiftMaster Garage Door Opener
What Is Force Adjustment?
Force settings control how much pressure the opener uses to open or close the door. If your door slams shut or struggles to lift, incorrect force could be the issue. Proper adjustment is essential for both safety and smooth operation.
How to Test and Modify Force Settings
Operate the door using the wall control and observe its movement. On most models, force adjustment dials are located on the side panel. Increase or decrease pressure as needed until the door moves consistently without hesitation or excessive push. Grand River Garage Door can perform precise force tuning to match your system’s needs.
Resetting the LiftMaster Opener After Adjustments
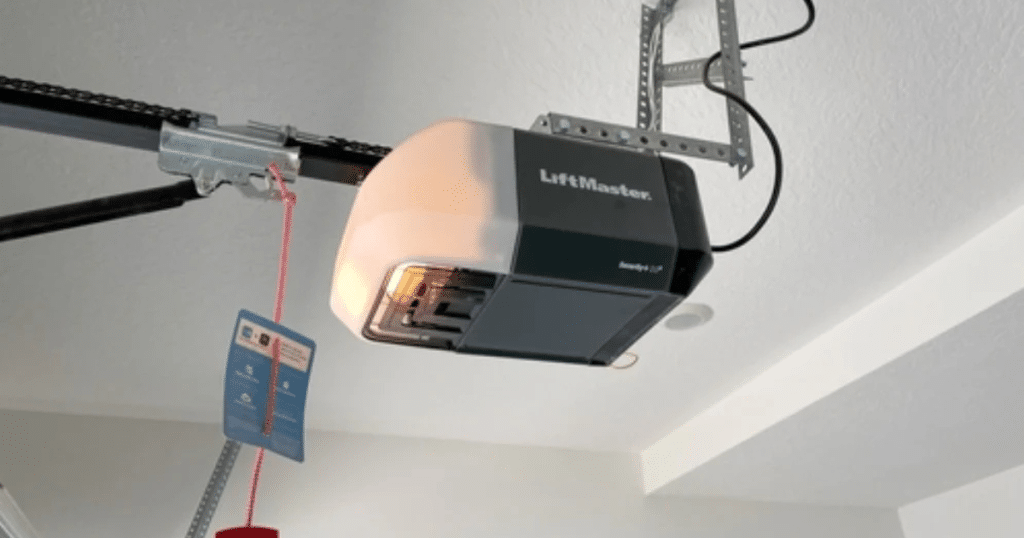
Once you’ve made any adjustments to your LiftMaster garage door opener, it’s crucial to reset and test the system to ensure everything operates safely and smoothly. A thorough reset confirms that all adjustments have been properly applied and that the safety mechanisms remain reliable. Follow these steps to complete the process:
- Test the Safety Reversal System: Place a solid object, like a block of wood, in the door’s path. Close the door using the remote. If the door doesn’t reverse upon contact, stop and readjust the force or travel settings.
- Reprogram Remote Controls or Wall Panel: After adjustments, you may need to re-sync your remotes or wall panel with the opener. Refer to the LiftMaster manual for model-specific programming instructions.
- Schedule a Professional Inspection: Grand River Garage Door technicians always confirm that all safety features, including reversal systems and sensors, function correctly after every repair or adjustment.
When to Call a Professional Instead of DIY
DIY maintenance is fine for basic tasks, but some garage door opener issues demand professional expertise. Attempting complex repairs without proper tools or training can lead to injury or costly damage. Here’s when you should call in the pros:
- Misaligned Tracks: Tracks must be perfectly aligned for safe operation. If they’re bent or uneven, a professional should realign them to avoid serious structural issues.
- Worn-Out Gears or Chains: These internal parts are under high tension and can be dangerous to replace without the right experience.
- Malfunctioning Logic Board: The brain of your LiftMaster opener, the logic board controls all functions. Electrical issues should only be handled by trained technicians.
- Repeated Failures After DIY Fixes: If your fixes don’t last or the same issue keeps returning, expert troubleshooting can identify root causes.
Grand River Garage Door has the tools and experience to handle complex opener repairs safely and efficiently.
Preventative Maintenance to Avoid Repeated Adjustments
Preventative maintenance plays a crucial role in minimizing the need for ongoing garage door adjustments. Regular care not only extends the life of your garage door system but also ensures safe and consistent performance.
Key maintenance actions include:
- Seasonal tune-ups to check overall door balance and opener settings
- Lubrication of moving parts like rollers, hinges, and tracks
- Inspection of tension cables and torsion springs for wear or damage
- Safety sensor realignment and force setting calibration
Grand River Garage Door offers year-round maintenance plans to keep your LiftMaster opener running smoothly and reliably.
FAQs: Adjusting a LiftMaster Garage Door Opener
How do I adjust my LiftMaster garage door opener?
To adjust your LiftMaster garage door opener, locate the up and down travel limit screws on the motor unit. Use a flathead screwdriver to turn the screws clockwise to shorten travel or counterclockwise to extend it. Test the door after each adjustment to ensure smooth and complete operation.
How to adjust the force on a garage door opener with manual adjustment screws?
To adjust the force on your garage door opener, find the force adjustment dials on the motor housing. Turn the “up” or “down” dial slightly clockwise to increase force or counterclockwise to decrease it. Always test the door after changes to ensure it reverses properly and functions safely.
How do I program my LiftMaster garage opener?
To program your LiftMaster garage opener, press and release the “Learn” button on the motor unit. Within 30 seconds, press and hold the button on your remote until the opener lights flash or clicks. This confirms successful programming. Repeat the process for additional remotes if needed.
How to adjust a side mount LiftMaster garage door opener?
To adjust a side mount LiftMaster garage door opener, first unplug the unit for safety. Use the control panel or adjustment dials to modify travel limits and force settings. Ensure the torsion spring is properly tensioned and test door movement after adjustments to confirm balanced, smooth operation.
How do you align a LiftMaster garage door opener?
To align your LiftMaster garage door opener, check the position of the safety sensors near the bottom of the tracks. Make sure both sensor lights are solid and not blinking. Adjust the sensors until they face each other directly, then tighten the brackets and retest the door for proper closing.
Final Thoughts: Trust Grand River Garage Door for Safe, Expert Adjustments
Adjusting a LiftMaster garage door opener helps maintain safety, efficiency, and smooth daily operation. If your system starts acting up or shows signs of imbalance, it’s best not to delay. Grand River Garage Door offers expert service backed by trusted local experience, ensuring your opener is fine-tuned properly and safely, without guesswork or unnecessary risks.
When adjusting a LiftMaster garage door opener becomes too complex or uncertain, it’s time to call in professionals who understand the equipment inside and out. Grand River Garage Door is your go-to team for dependable inspections, seasonal tune-ups, and precise adjustments. We make sure your garage door stays reliable year-round,so you never have to second-guess its performance.
End Note
Grand River Garage Door takes pride in offering top-tier services, including garage door opener repairs, maintenance, and product installations throughout Central Michigan. Learn about our history and values on the About Us page, and discover how we continue to earn the trust of homeowners across the region with prompt service and quality craftsmanship.Our garage door openers are built to last, and we proudly install name brands like Amarr, C.H.I., and Clopay. Visit our blog for maintenance tips, or contact us for a personalized consultation. Follow us on Facebook for service updates and garage door inspiration. When you choose Grand River Garage Door, you’re choosing proven dependability.
Grand River Garage Door
4760 Simpson Rd, Owosso Township, MI 48867, United States
+15173259005